Everything you need to know about building, customizing, and publishing your website with IslaApp. Browse 150+ templates, customize with AI or the visual editor, and go live in minutes.
Getting Started
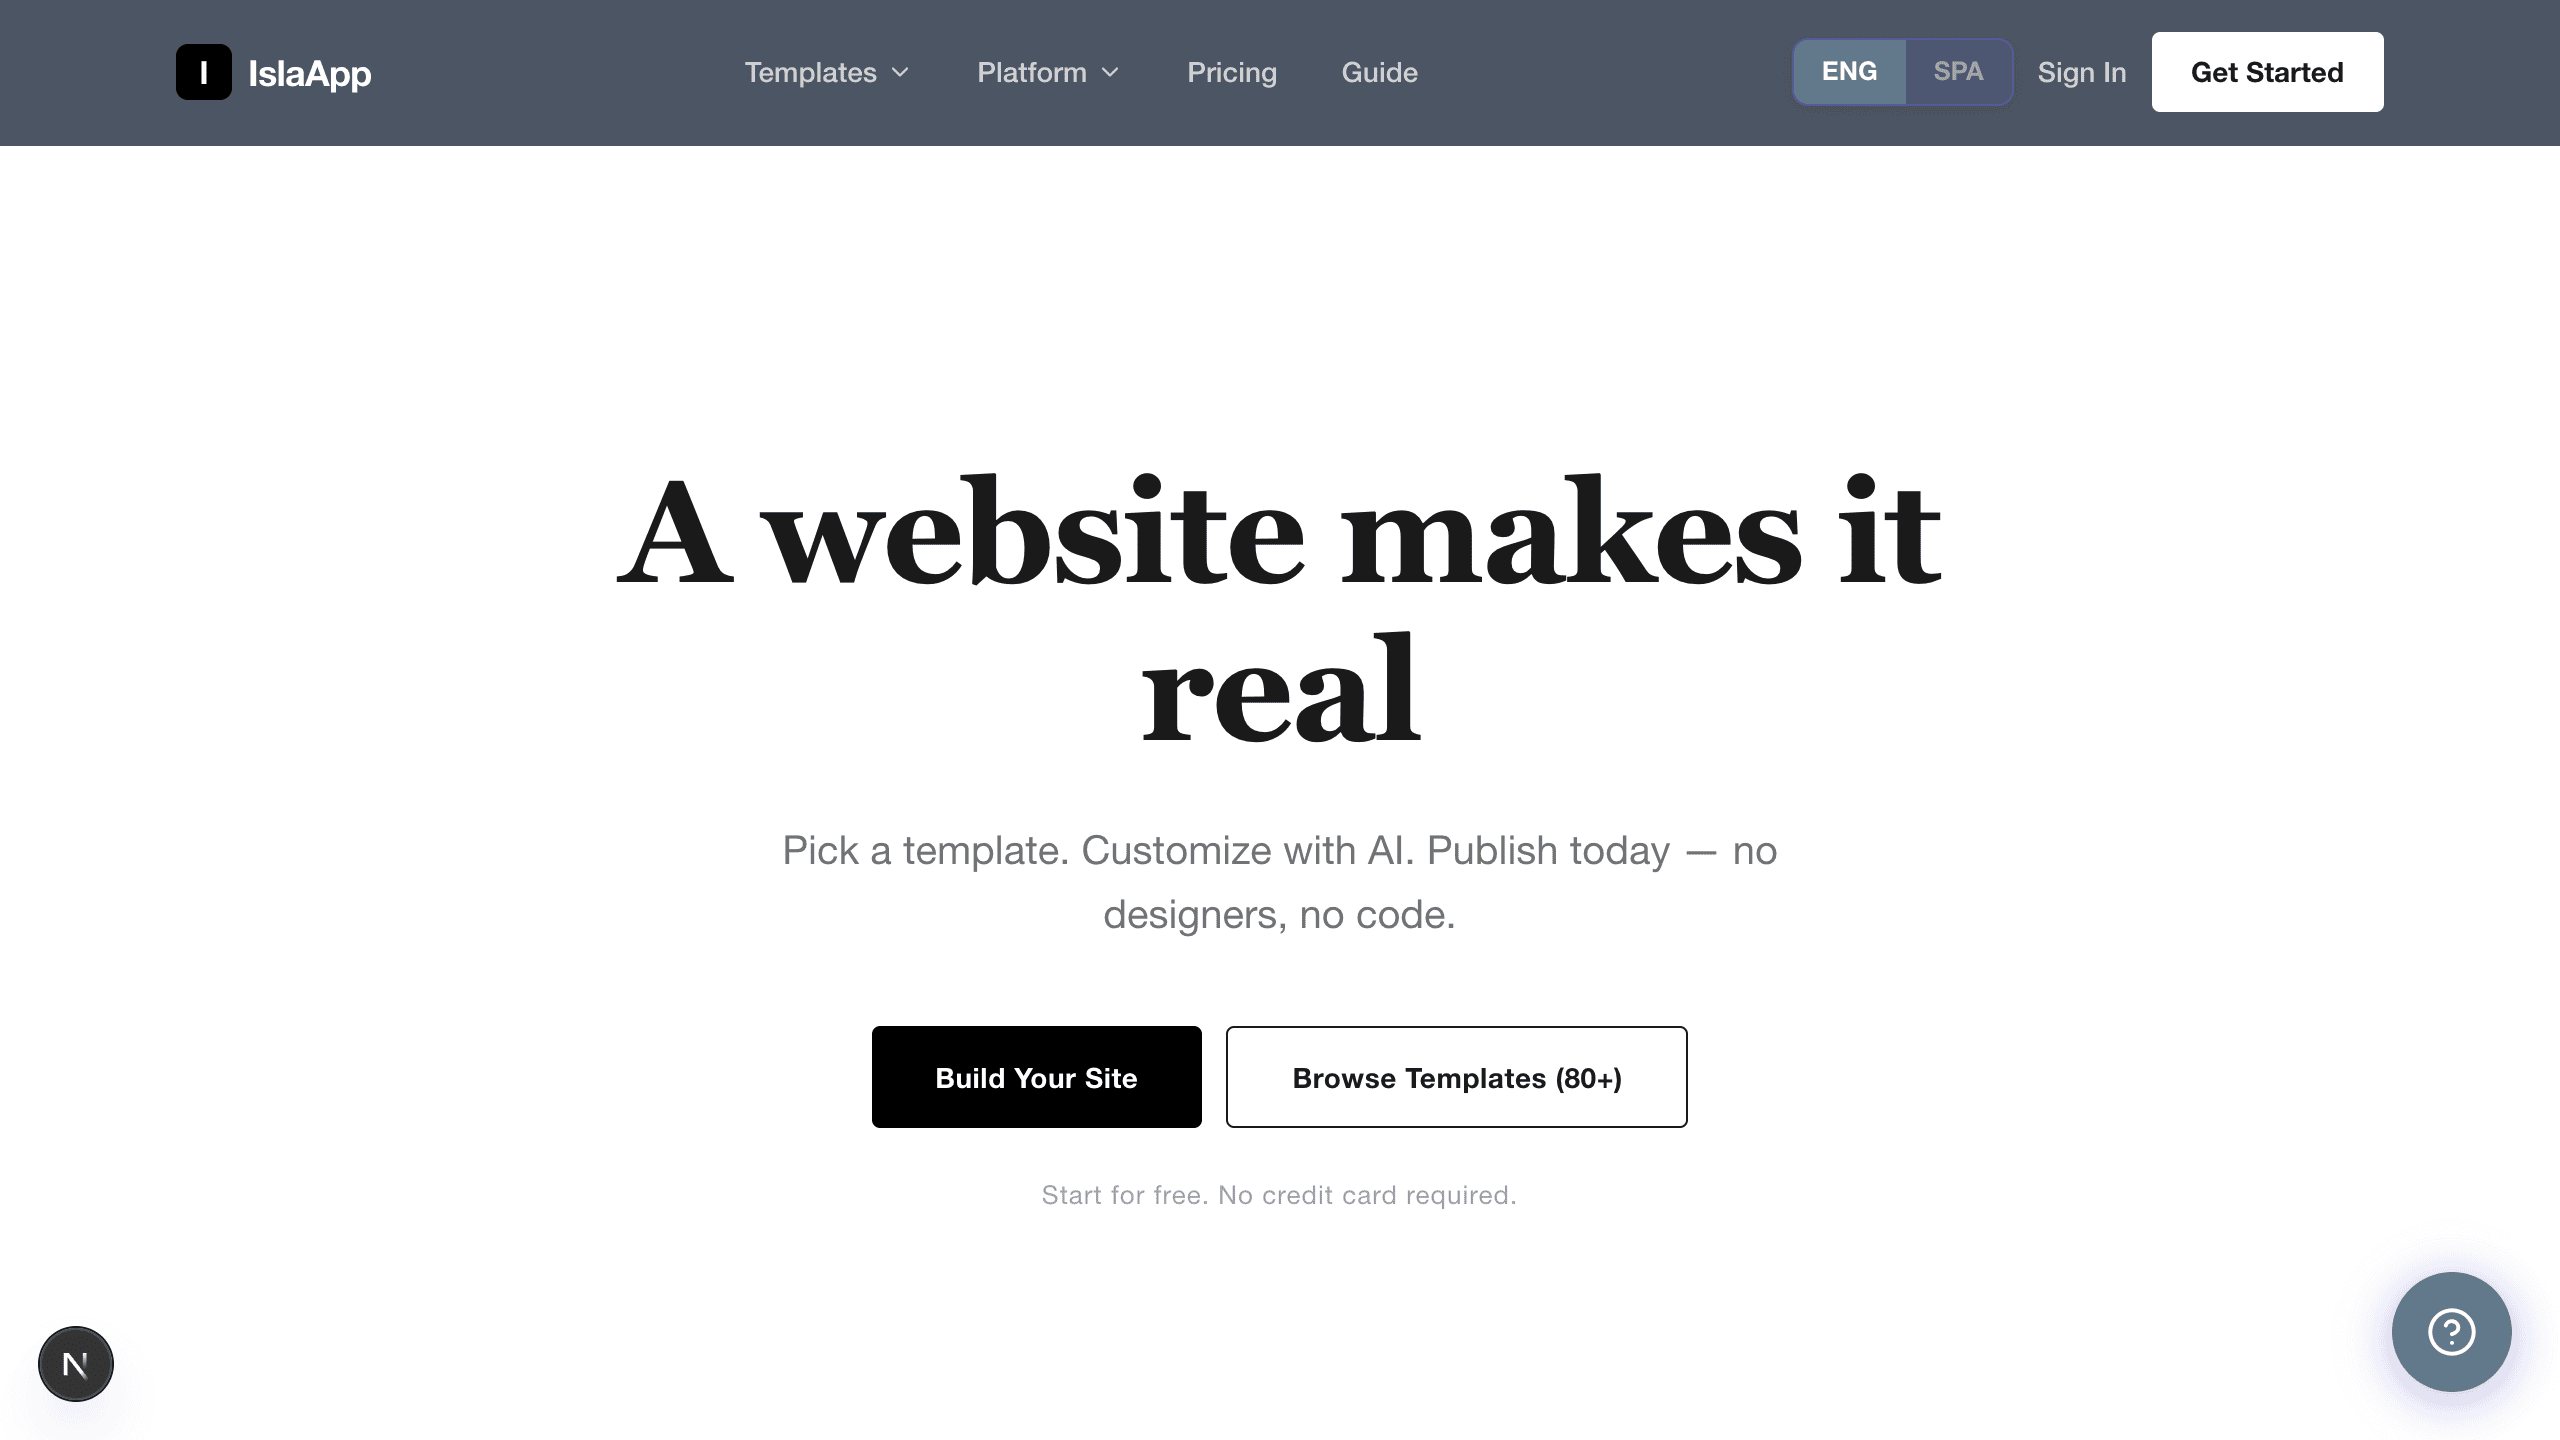
IslaApp is a template marketplace where businesses create professional websites using AI. Choose from 150+ industry-specific templates across 6 categories, customize them to match your brand, and publish with one click.
Sign Up for Free
1
Go to islaapp.com and click Get Started.
2
Enter your email and password, or sign up with Google.
3
Confirm your email if prompted.
4
You will be redirected to your dashboard where you can start building.
Every new account gets 50 free AI credits. Each AI customization uses 1 credit.
Browse the Marketplace
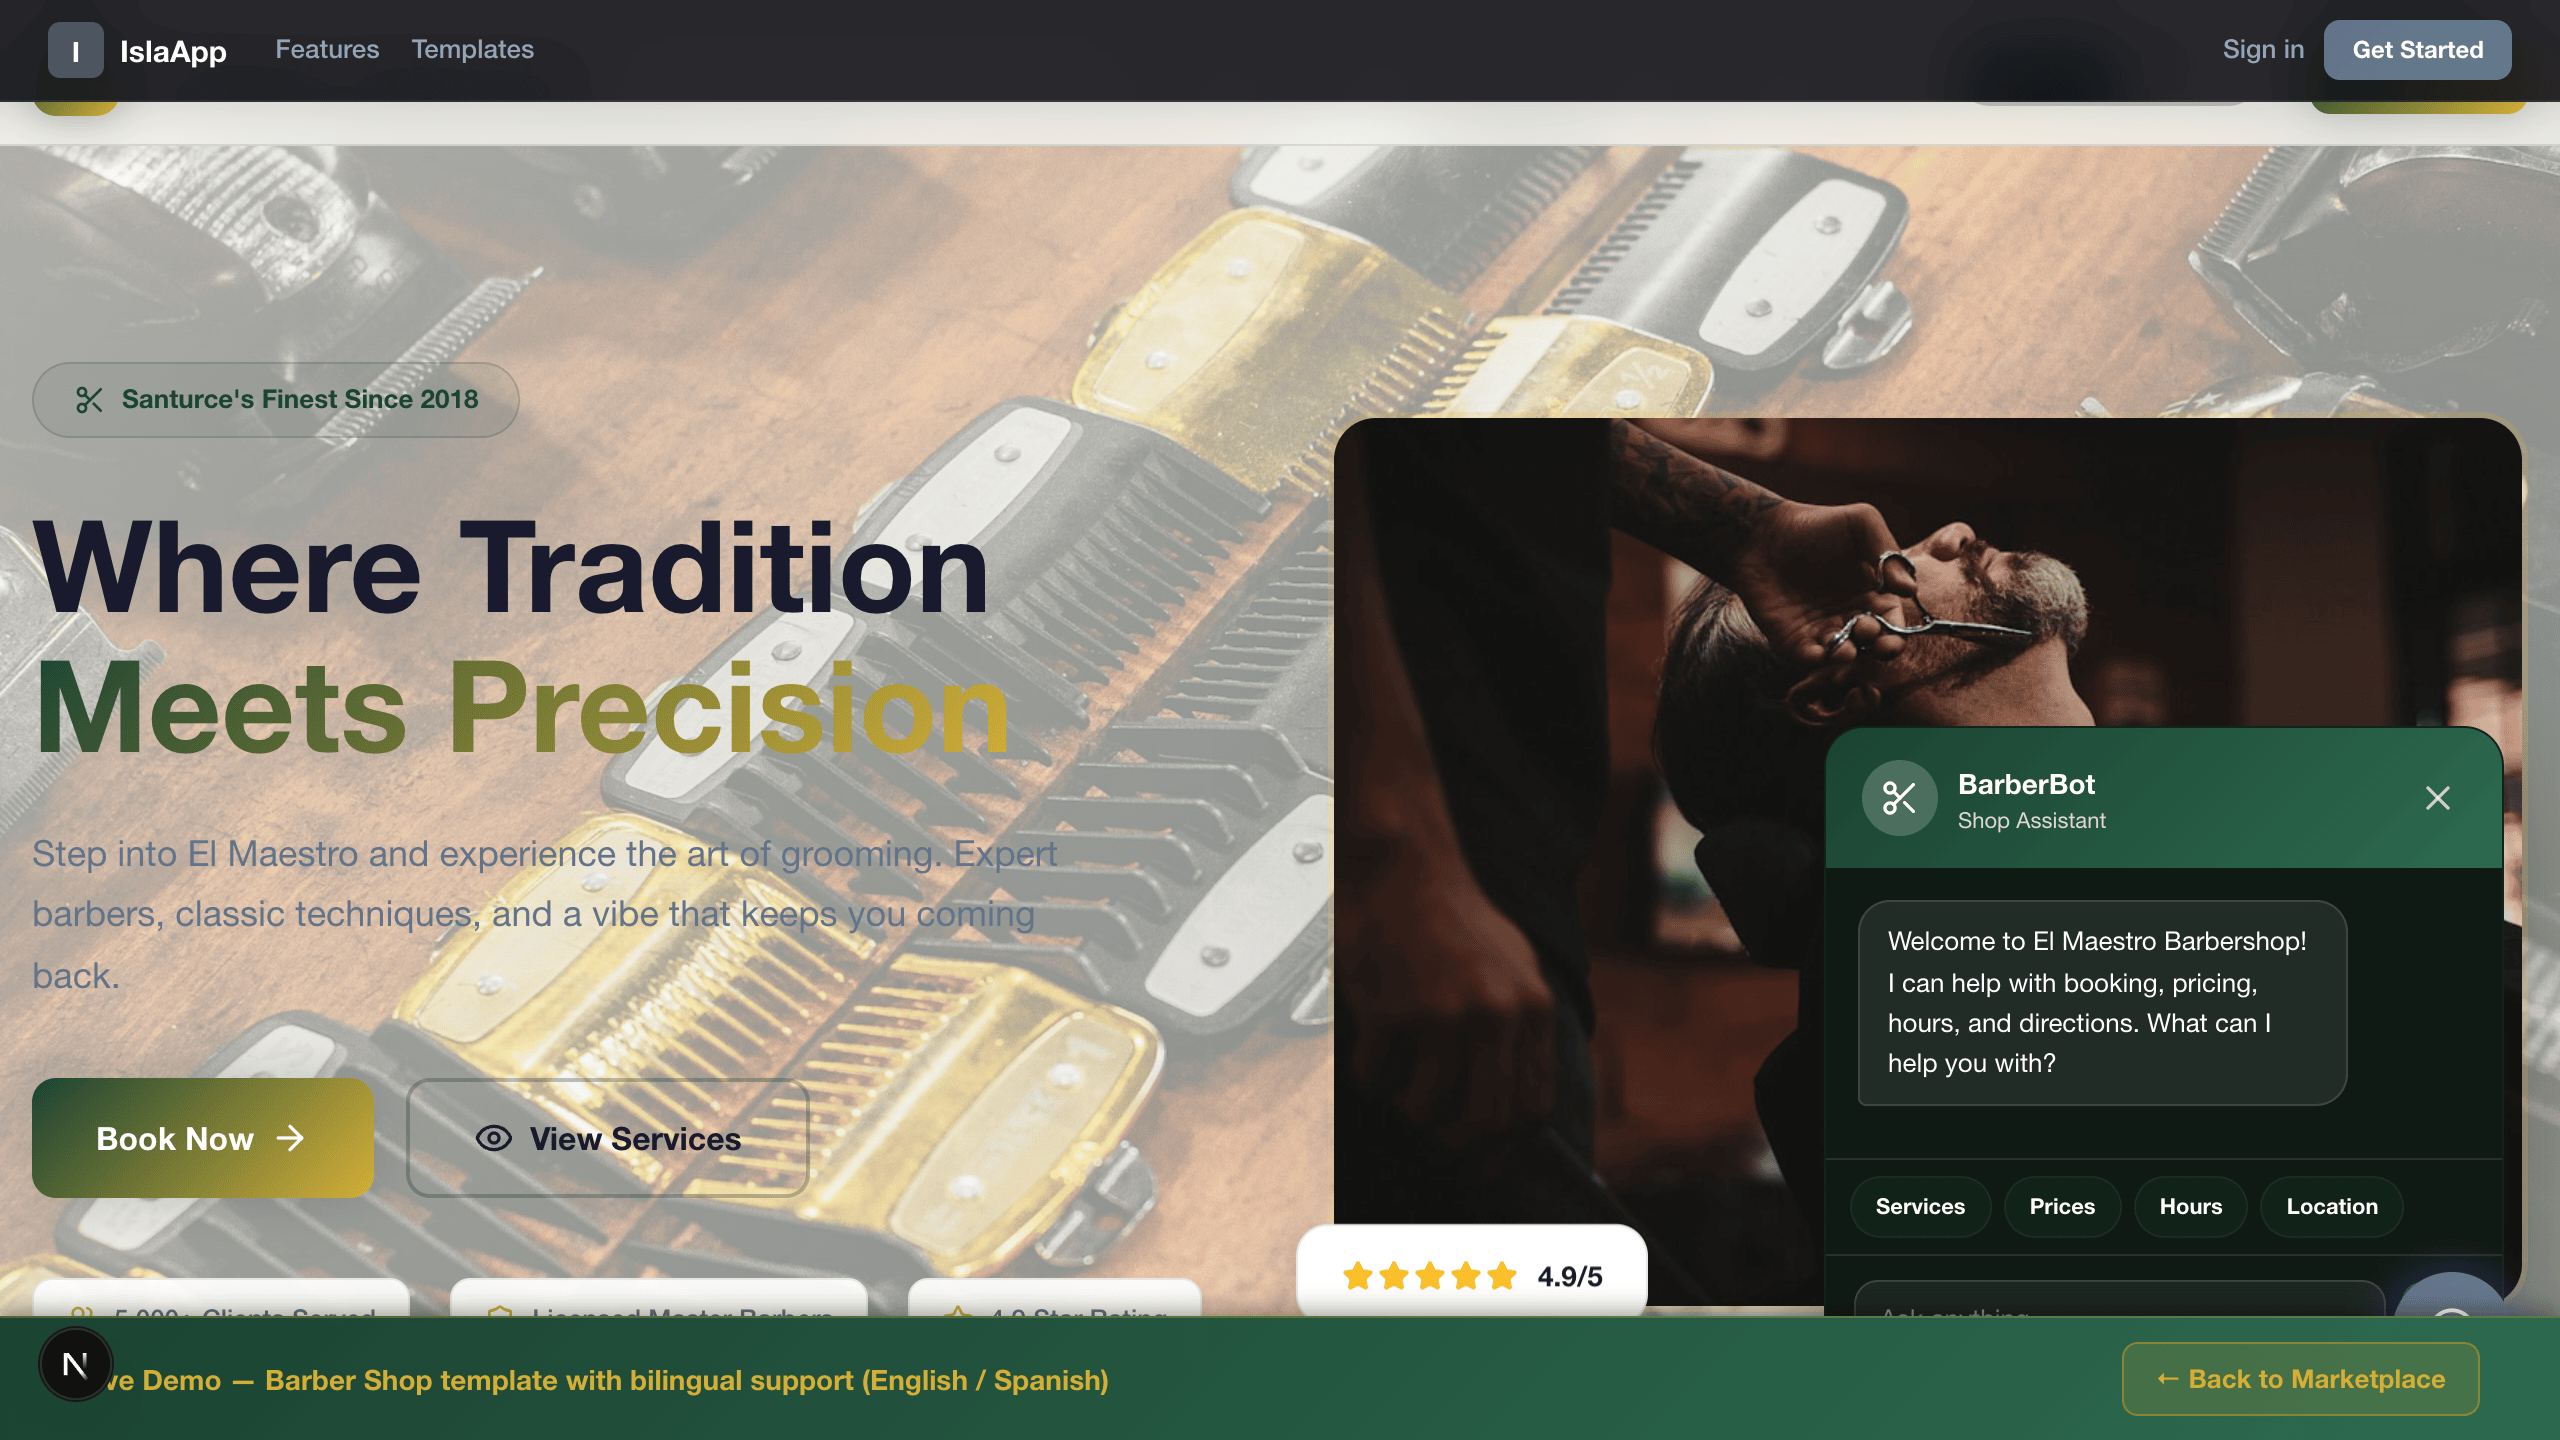
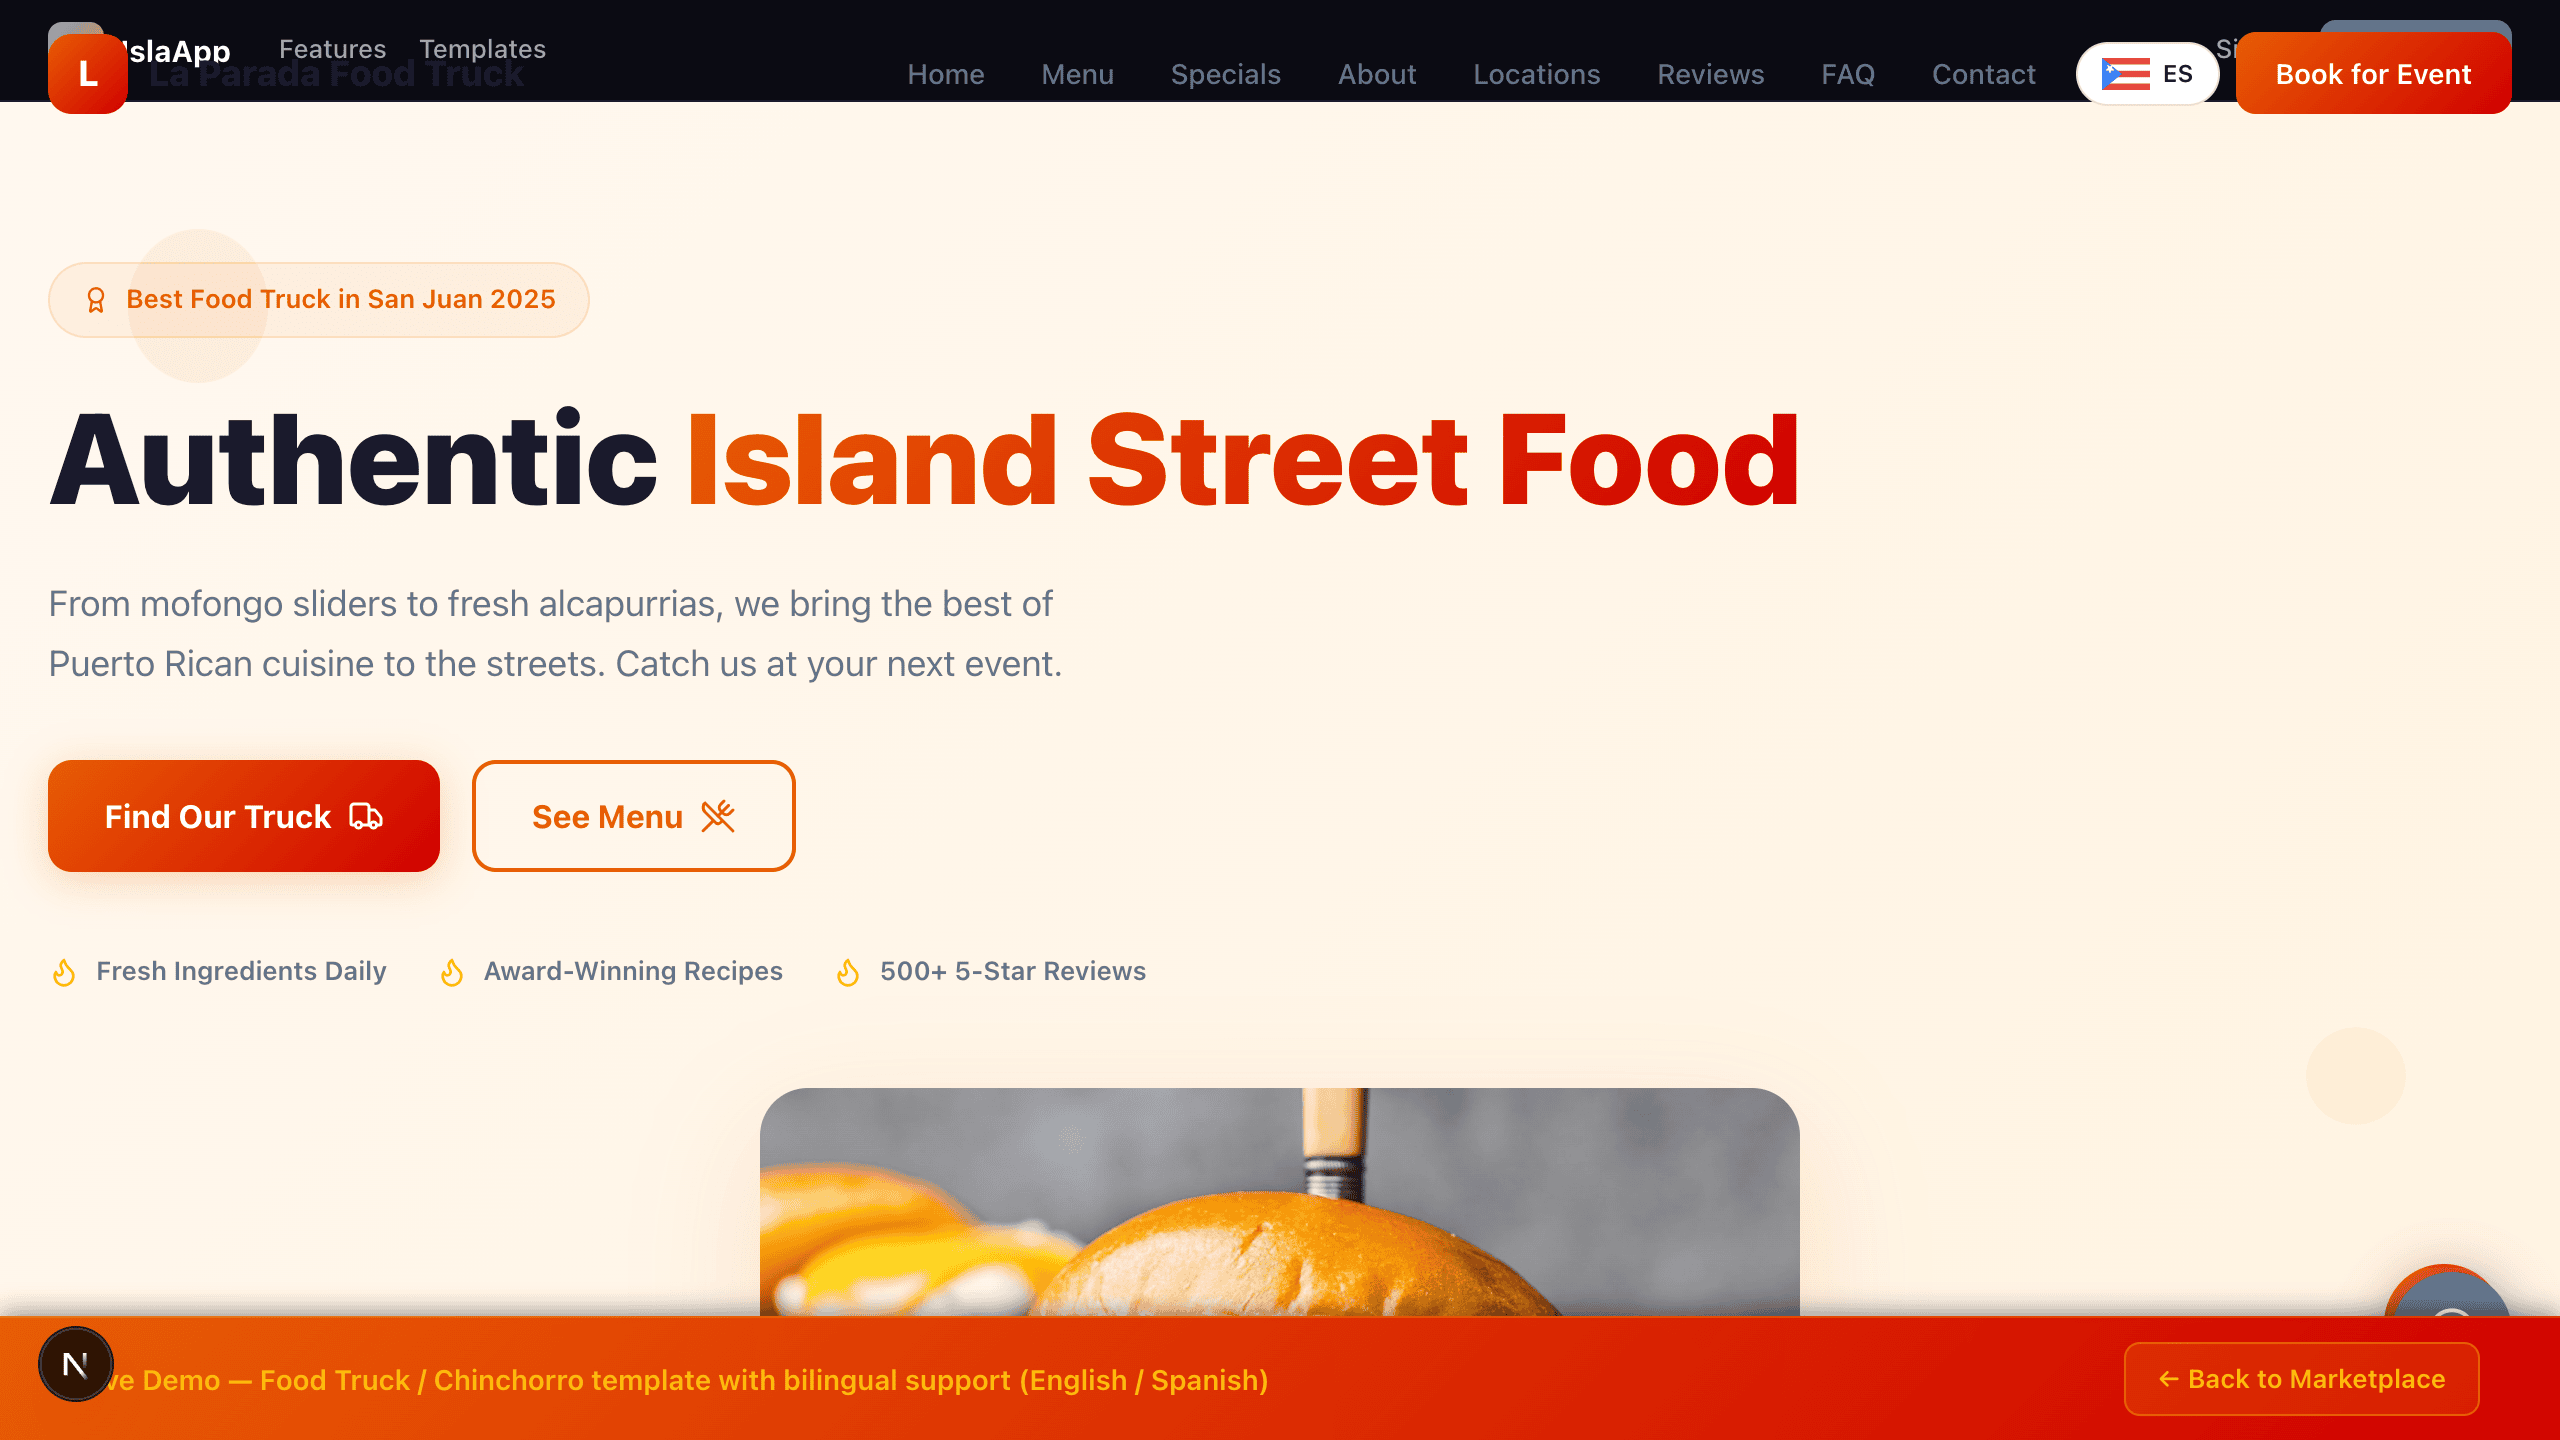
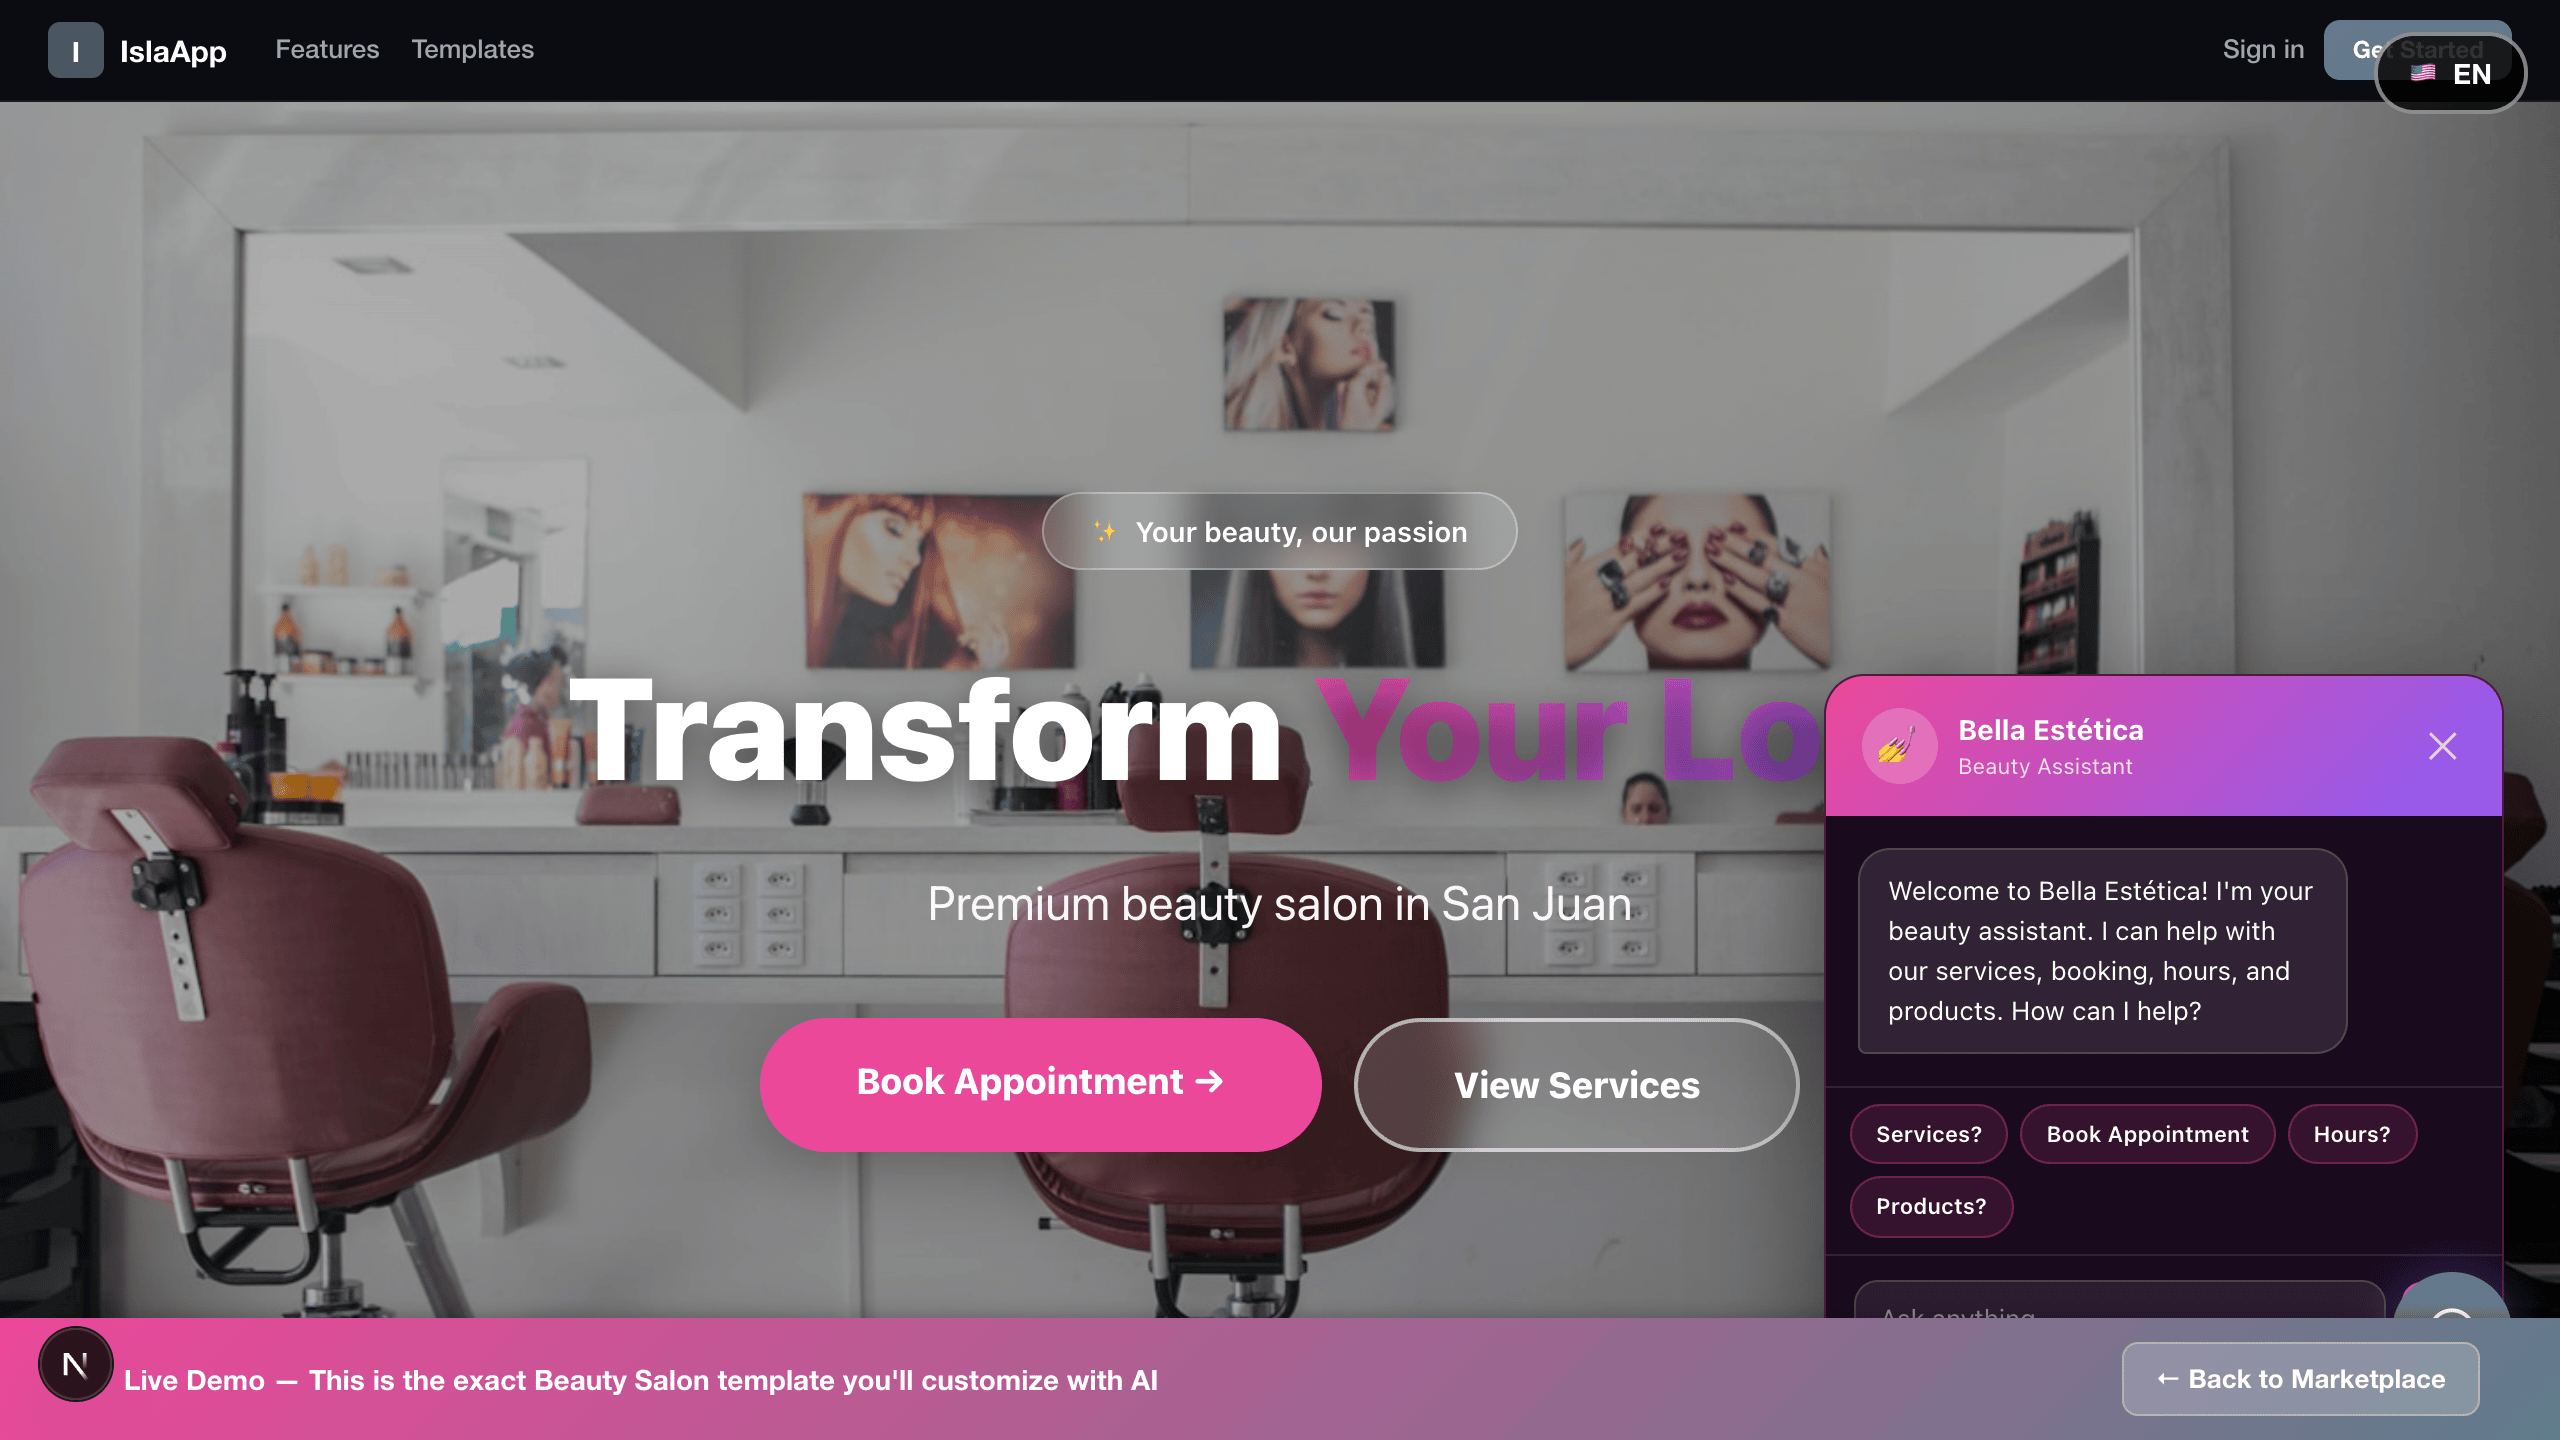
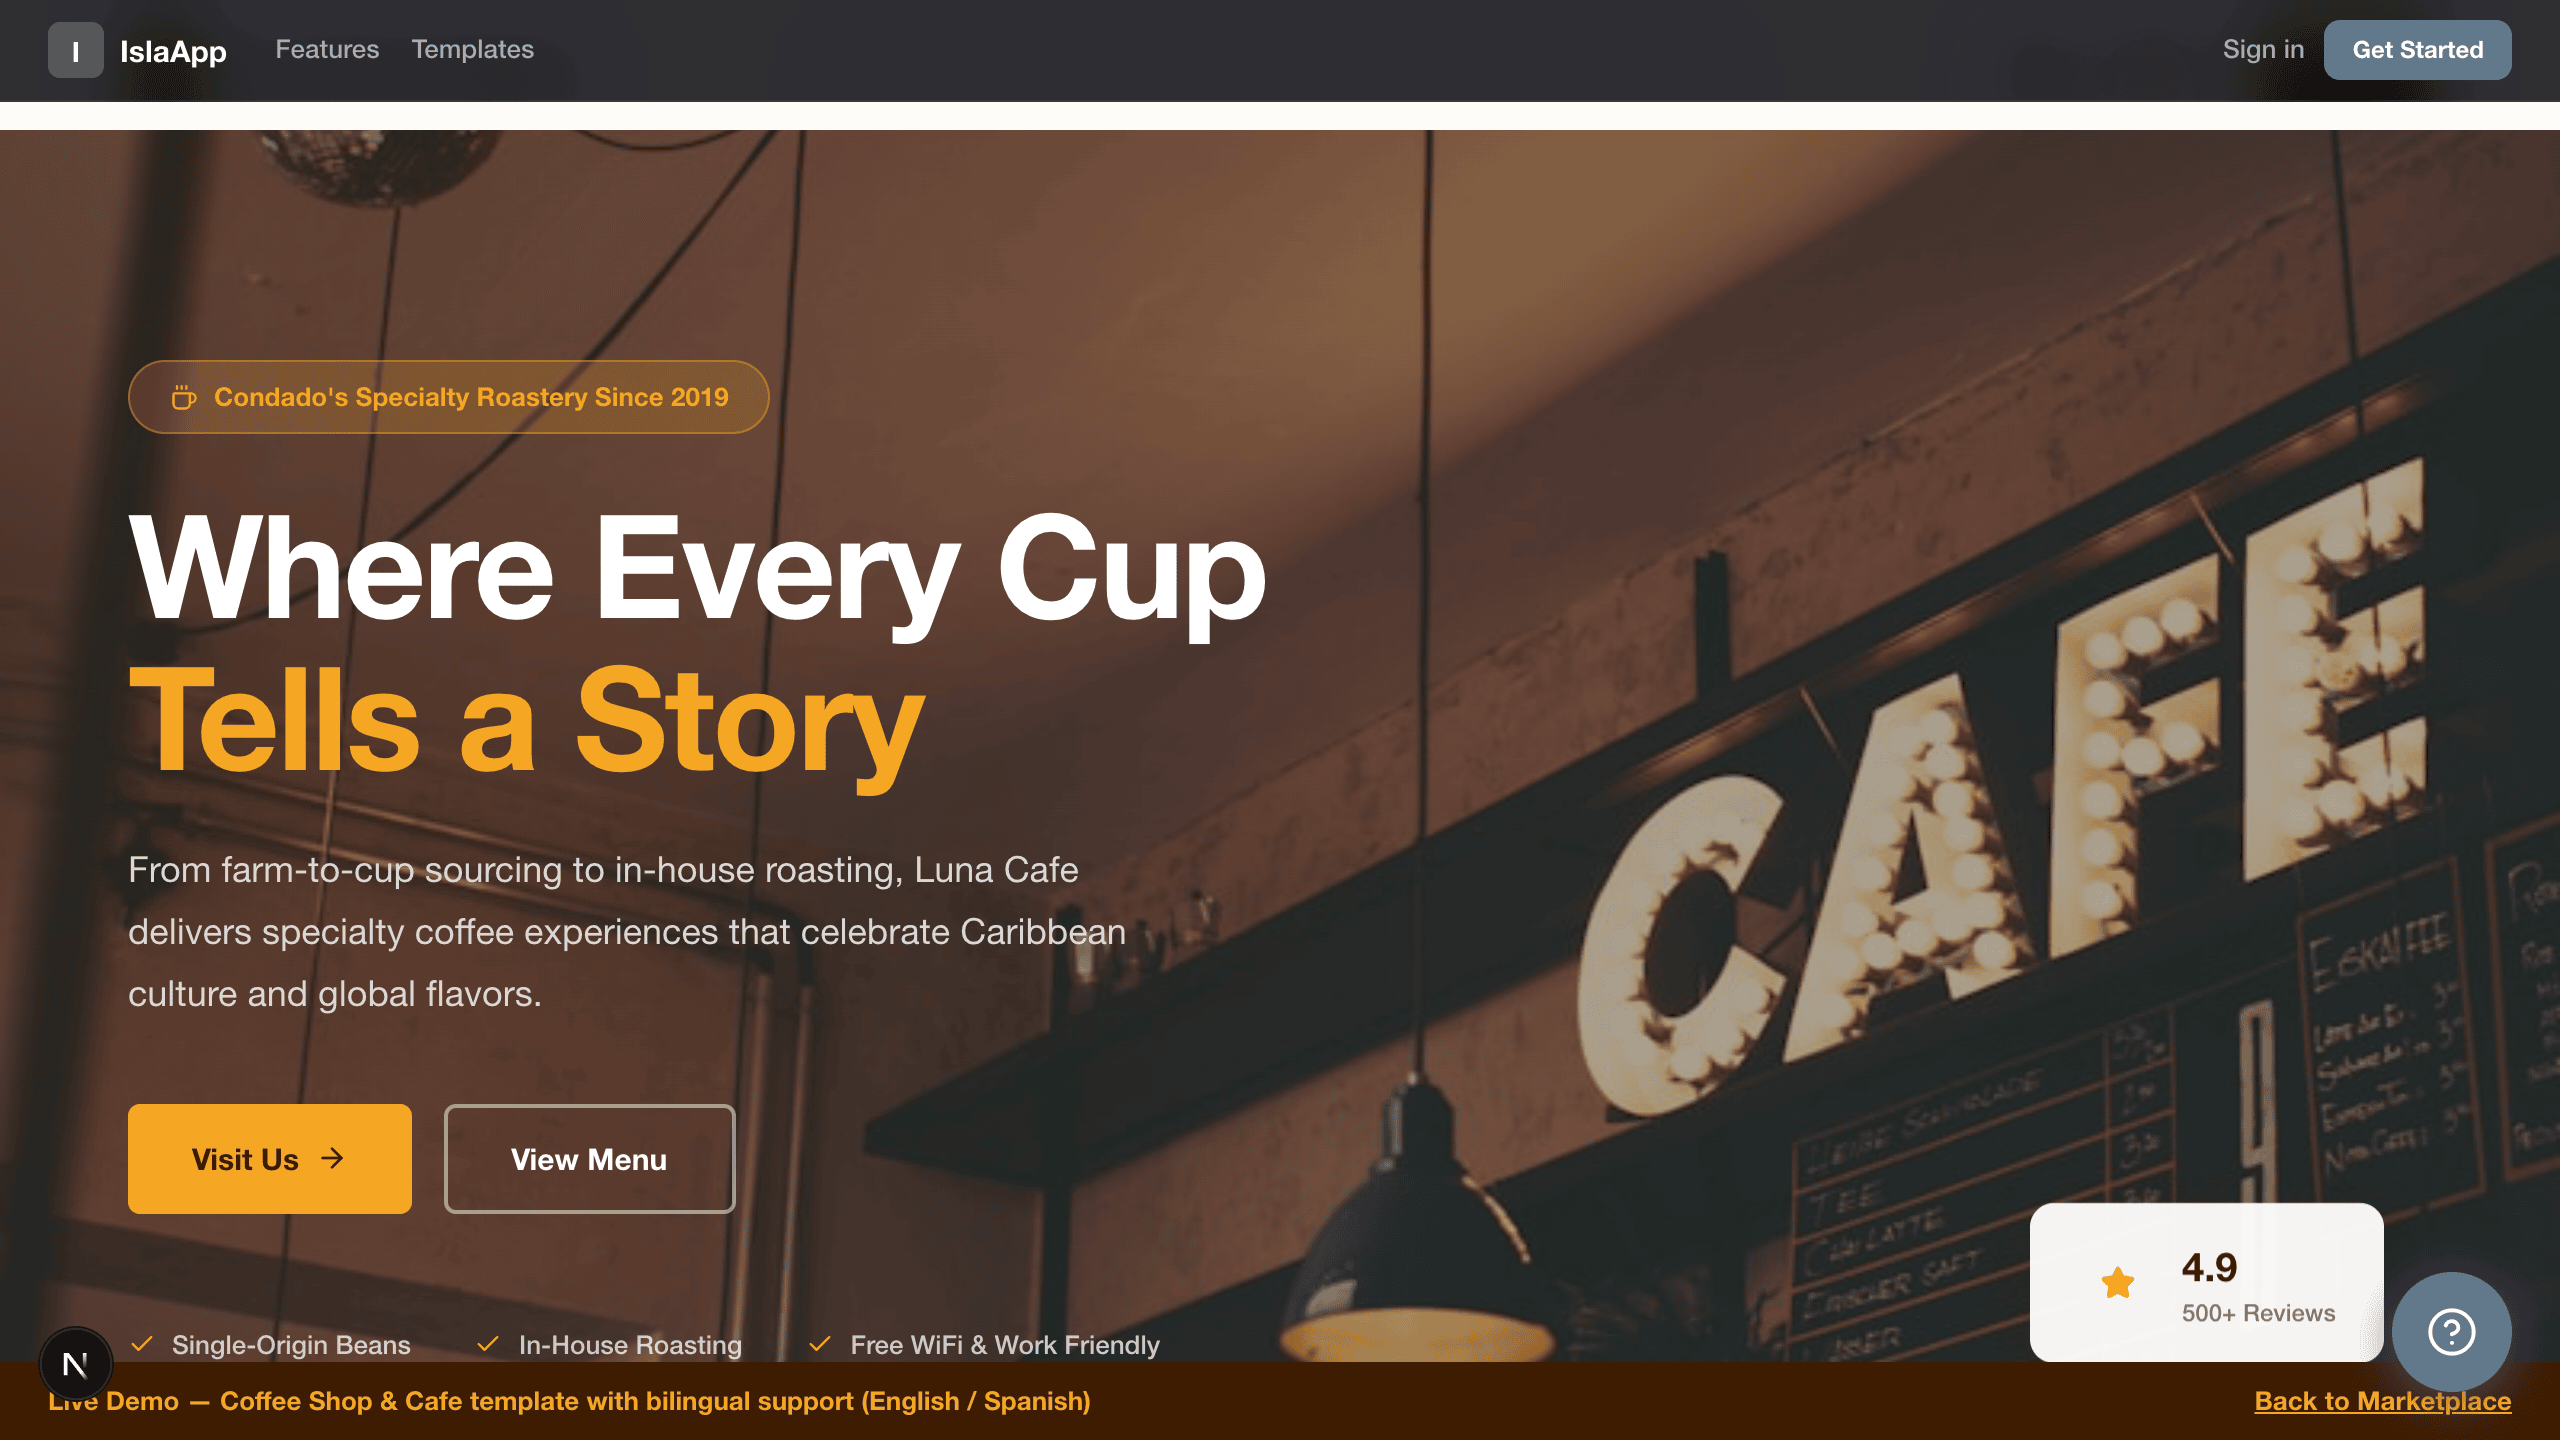
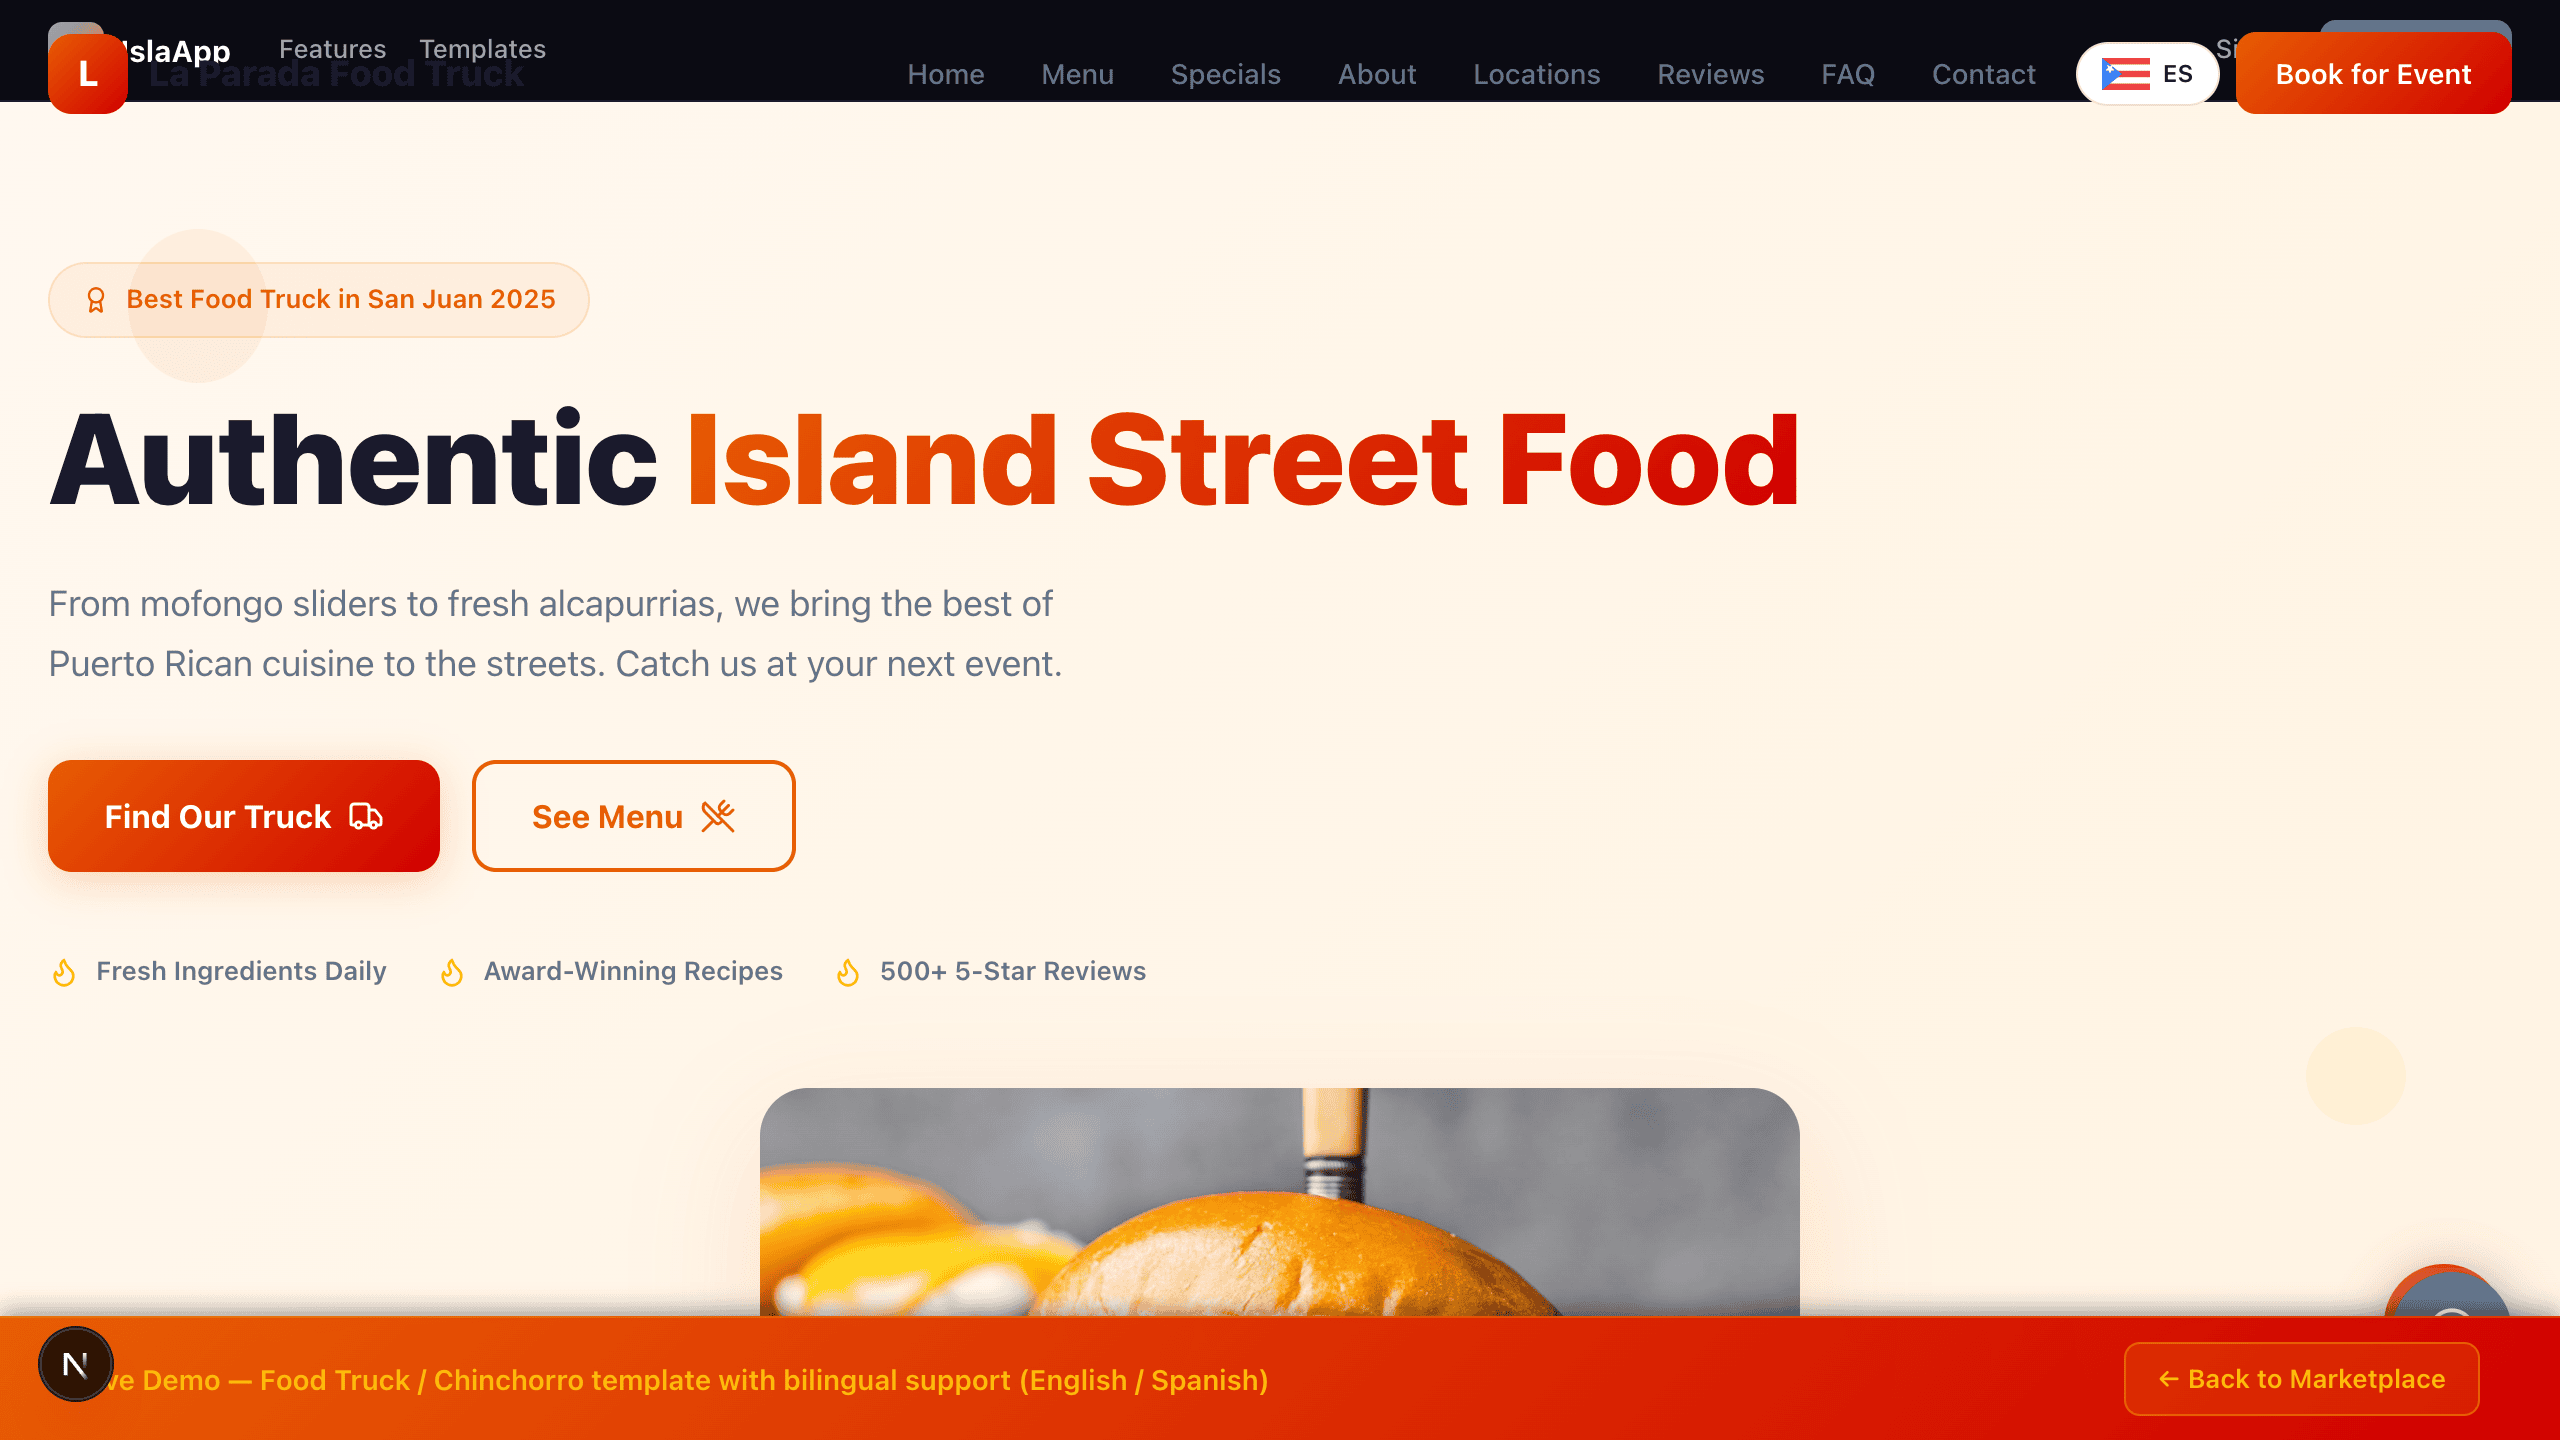
The marketplace features 150+ professionally designed templates across 6 categories: Food & Hospitality, Health & Wellness, Professional Services, Home & Local, Tech & Business, and Community & Events. Every template is free to preview.
Preview Any Template
Click any template card to open a full live preview. Interact with it, check the layout on different devices, and see exactly what you will get. No account required for previewing.
Open the Editor
Click Get Started on any template to create your own copy and open the editor. From here, use the AI Customizer or Visual Editor to make it yours.
AI Customizer
The AI Customizer lets you modify your website by typing instructions in plain English or Spanish. Tell it what you want and the AI updates your template in seconds.
How It Works
1
Open the AI Customizer tab in the editor sidebar.
2
Type what you want to change in the text box.
3
Press Enter or click Send. The AI modifies your template and the preview updates in real time.
Example Instructions
"Change colors to blue and gold"
"Rename my business to Bella Vista Salon"
"Add a testimonial section with 3 reviews"
"Update the phone number to (787) 555-1234"
"Make the hero image a beach sunset"
"Translate everything to Spanish"
Voice Input
Click the microphone icon next to the text box to dictate your changes. Speak naturally in English or Spanish and the AI will transcribe and execute your instructions.
Voice input supports both English and Spanish
Drag & Drop Images
You can drag and drop images directly into the AI chat. The AI will incorporate them into your template where appropriate.
AI Credits
Each AI change uses 1 credit. Save credits by combining multiple changes into a single instruction:
"Change the name to Bella Vista, make the color teal, and update the phone to 787-555-0000"
Undo & Credit Refund
If you don't like an AI change, click Undo in the toolbar. The change reverts and your credit is automatically refunded.
Be specific for the best results. Say "dark navy blue" instead of just "blue". Reference sections by name: "in the hero section" or "in the pricing table".
Visual Editor
The Visual Editor gives you point-and-click control over your template. Change colors, text, and images directly without using any AI credits.
Color Theme Panel
The color panel shows 6 color roles (primary, secondary, accent, background, text, muted) as large visual swatches. Click any swatch to open the color picker. Or pick a one-click theme preset from 8 options (Ocean, Sunset, Forest, Midnight, Rose, Slate, Amber, Violet) to change your entire color scheme instantly.
"What do you need?" Prompt
At the top of the Visual Editor is a free-text field where you can type any change in plain language — just like the AI Customizer, but right from the visual editor tab. Uses 1 AI credit.
Change Colors
Click any color swatch in the sidebar to open the color picker. Changes apply instantly.
Upload & Manage Images
You have three ways to replace images:
Drag and drop an image from your computer onto any photo in the preview — it replaces instantly.
Click any image in the preview (green outline appears) then press Cmd+V to paste from clipboard.
Use the Image Manager panel in the sidebar to see all image fields with thumbnails, paste a URL, or remove images.
AI Image Generator
Generate images with DALL-E 3 directly in the editor (costs 2 credits). Describe the image you want → generate → drag the generated image onto any photo in the preview to replace it. You can also download it.
Toggle Sections
Turn sections on or off with a single toggle. Hidden sections will not appear on your published site.
Reorder Sections
Drag sections to reorder them. Your layout updates in real time.
The Visual Editor never uses AI credits (except the "What do you need?" prompt). Use it for quick changes like colors, images, and toggling sections. Save your AI credits for more complex modifications.
Double-Click to Edit
The fastest way to edit text: double-click any text in the preview to edit it directly. A text field appears right where you clicked, allowing you to type your changes inline.
1
Find the text you want to change in the live preview.
2
Double-click it. An editable field appears.
3
Type your new text.
4
Click away or press Enter. Changes save automatically.
This works for headings, paragraphs, button labels, menu items, and more. No AI credits used.
Publishing Your Site
When your site looks ready, publishing takes just a few clicks.
1
Click the Publish button in the editor toolbar.
2
Choose your subdomain name (e.g., mybusiness).
3
Your site goes live at mybusiness.onislaapp.com.
4
Share the URL with your customers.
Free SSL included -- every published site gets HTTPS automatically.
You can update your published site at any time by making changes in the editor and clicking Publish again. Updates go live instantly.
Mobile Site Manager
Manage your published site from your phone. Add products, track orders, and view site info — all from a mobile-friendly panel.
How to Access
1
Go to Dashboard and find your published site.
2
Click the Manage button next to "Visit Site".
Products Tab
1
Tap Add Product to open the form.
2
Fill in the product name, price, description, and category (Product or Service).
3
Optionally, tap the image area to upload a photo from your phone.
4
Tap Add Product to save. It appears on your live online store within 60 seconds.
Products you add here appear directly in your published site's online store — no need to re-publish. Edit or delete any product by tapping the pencil or trash icons.
Orders Tab
View all customer orders. Filter by All, Pending, or Paid. Mark orders as Paid or Cancel them with one tap.
Site Info Tab
See your subdomain, publish date, and quick links to Payment Settings, SEO Settings, and your live site.
Add an online store to your website and start selling products and services. Available on Starter, Pro, and Business plans.
Setting Up Your Store
1
Go to Dashboard and click Commerce.
2
Click Add Product. Enter the name, price, description, and category.
3
Optionally, click Add product photo to upload an image from your device. The photo appears in your store automatically.
4
Products appear on your published site automatically.
Payment Methods
Your store supports three payment methods. Set up one, two, or all three:
Manual Order — Customer submits name, email, and phone. You contact them to collect payment. Always available, no setup needed.
ATH Móvil — Customer pays instantly from the ATH Móvil app. Set up in Dashboard → Commerce → ATH Móvil tab.
Credit Card (Stripe) — Accept Visa, Mastercard, Amex worldwide. Customer redirected to secure Stripe checkout. Fee: 2.9% + $0.30. Set up in Dashboard → Commerce → Stripe tab.
How Customers Order
Customers browse your products on your published site, click the product button, and choose their payment method — manual order, ATH Móvil, or credit card.
Managing Orders
1
Go to Dashboard and click the Orders tab.
2
View all incoming orders with customer details and items.
3
Mark orders as Paid, Cancel, or Refund as needed.
Products update on your live site instantly. Add, edit, or remove products from your dashboard at any time.
ATH Movil Payments
Popular Mobile Payment
Accept payments through ATH Movil, a popular mobile payment app. Your customers pay directly from their debit card.
Setup
1
Download the ATH Movil Business app on your phone.
2
Register and link your ATH debit card.
3
In the ATH Business app, go to Settings then Development and copy your Public Token.
4
In IslaApp: go to Dashboard then Commerce then the ATH Movil tab.
5
Paste your Public Token and save.
How It Works for Customers
1
Customer clicks Pay with ATH Movil on your site.
2
They enter their phone number.
3
They confirm the payment in the ATH Movil app on their phone.
4
The order is automatically marked as paid in your dashboard.
Fee: 2.25% per transaction. This fee is charged by ATH Movil, not by IslaApp.
Credit Card Payments (Stripe)
Accept Visa, Mastercard, American Express, and more worldwide through Stripe.
1
Create a free account at stripe.com.
2
In the Stripe Dashboard, go to Developers → API keys.
3
Copy your Publishable key (starts with pk_live_) and your Secret key (starts with sk_live_).
4
In IslaApp: Dashboard → Commerce → Stripe tab. Paste both keys and save.
Fee: 2.9% + $0.30 per transaction. This fee is charged by Stripe, not IslaApp. Funds deposit to your bank in 2 business days.
Credit Card Payments (Stripe)
Accept Visa, Mastercard, Amex, and more worldwide with Stripe. Customers are redirected to a secure checkout page.
Setup Steps
1
Create a free account at stripe.com.
2
Complete your business profile and verify your identity.
3
In the Stripe Dashboard go to Developers → API keys.
4
Copy your Publishable key (starts with pk_live_) and Secret key (starts with sk_live_).
5
In IslaApp: Dashboard → Commerce → Stripe tab.
6
Paste both keys → click Save Stripe Keys.
Fee: 2.9% + $0.30 per transaction. This fee is charged by Stripe, not IslaApp. Funds deposit to your bank in 2 business days.
QR Code Payments
Generate QR codes for your business. Print them, put them on your counter, or share them on social media so customers can pay or browse your store instantly.
Quick Pay QR
1
Go to Dashboard then Commerce then the QR Codes tab.
2
Generate a Quick Pay QR.
3
Customer scans the QR code, enters an amount, and pays with ATH Movil.
Store QR
1
Generate a Store QR from the same tab.
2
Customer scans the QR code and lands on your online store.
3
They browse products, place an order, and pay.
Download your QR codes as images to print or share digitally.
AI Email & Marketing
Pro & Business Plans
Two ways to email your customers: set up automations that run on a schedule automatically, or send a one-time email manually whenever you want.
Automated Emails (Set & Forget)
Go to Dashboard → Commerce → AI Email tab. You'll see 5 ready-made automations to turn on with a toggle:
🙏Weekly Thank You — sends every Monday to everyone who ordered that week
⏰Payment Reminder — sends daily to members with overdue payments
📋Monthly Statement — sends on the 1st of every month to all active members
👋Welcome New Members — sends every Monday to members who joined that week
🛒Pending Order Follow-up — sends daily to customers with unconfirmed orders
Flip the toggle → the card turns green → the automation runs on its own. Turn it off any time. You can also create your own custom automation by clicking ✏️ Custom Automation.
Automations run every day at 8 AM. Each card shows how many times it has run and when it last ran.
Send Once Now
1
On the same tab, scroll down to the Send Once Now section.
2
Type what you want to send. For example:
"Send payment reminder to overdue members"
"Send a receipt to all customers who ordered today"
"Send a promotional email about our new menu items"
"Send a statement to members with outstanding balances"
3
The AI finds matching customers and sends the email immediately.
CRM & Customers
Keep track of your customers with a built-in CRM. Manage contacts, track their status, and send emails directly from your dashboard.
How to Use
1
Go to Dashboard → Customers.
2
Click Add Customer to create a contact with name, email, phone, and notes.
3
Track each customer through the pipeline: New → Contacted → Qualified → Converted → Lost.
4
Click any customer to view details, send an email, or update their status.
Use the search bar to quickly find customers by name or email. The CRM is separate from your store orders — use it to track leads and relationships.
Invoices
Create and send professional invoices to your clients directly from your dashboard.
Creating an Invoice
1
Go to Dashboard → Invoices.
2
Click Create Invoice.
3
Add the client name, email, and line items (description, quantity, price).
4
Set the tax rate if applicable (default: 11.5% IVU for Puerto Rico).
5
Click Send Invoice to email it to the client.
Track invoice status: Sent → Paid. Mark invoices as paid when you receive payment.
SEO Score
Check how well your site is optimized for search engines with a 10-point SEO audit.
How to Run an SEO Scan
1
Go to Dashboard → SEO.
2
Click "Run SEO Scan" to analyze your published site.
3
Review your score and the 10-point checklist with pass/fail for each item.
The checklist covers: meta title, meta description, headings, images with alt text, mobile responsiveness, page speed, internal links, structured data, HTTPS, and social meta tags.
AI Studio
AI Studio is your all-in-one image editor. See every image in your template as a card — upload your own photos, generate new ones with Flux 2 Pro AI, or remove images. Changes auto-save in 2 seconds.
How to Use AI Studio
1
In the Editor, click the AI Studio button in the toolbar (purple).
2
All image fields from your template appear as cards with thumbnails.
3
Upload — Click "Upload" or drag & drop a photo onto any card.
4
AI Generate — Click "AI Generate", describe the image you want, and Flux 2 Pro creates it (2 credits).
5
Switch back to Visual Editor or AI Customizer using the navigation bar at the top.
AI Studio auto-saves every change. You can switch between AI Studio, Visual Editor, and AI Customizer freely — your work is always saved.
AI Agents
6 AI-powered agents that generate content for your business. Select a published site, then run any agent.
1
Content Writer — Rewrite or improve any section of your website
2
SEO Optimizer — Get 5 actionable SEO tips + meta title, description, keywords
3
Promo Writer — Generate 3 ready-to-post texts for Instagram and Facebook
4
FAQ Generator — Create 6 realistic FAQ Q&A pairs for your business
5
Email Campaign — Write a complete promotional email with subject and CTA
6
Review Responder — Get 3 polished template responses for reviews
How to Use
1
Go to Dashboard → AI Agents.
2
Select your published site from the dropdown.
3
Click an agent, add optional instructions, and click Run.
4
Copy the generated content and use it anywhere.
GEO — AI Search Optimization
GEO makes your published site discoverable by AI search engines like ChatGPT, Perplexity, and Google AI Overview. Available on all paid plans.
How it works: When you publish your site, IslaApp automatically generates structured data (JSON-LD) from your template — business name, description, phone, email, address, and image. This helps AI search engines understand and recommend your business.
GEO is automatic — no setup needed. Just make sure your template has complete business information (name, description, contact details) before publishing.
Referral Program
Earn free AI credits by inviting others to IslaApp. You earn 10 AI credits for every person who signs up with your referral link.
How to Share
1
Go to Dashboard → Referrals.
2
Copy your unique referral link or share code.
3
Share it with friends, clients, or on social media.
4
When someone signs up using your link, you both benefit — you get 10 AI credits.
Analytics
Track how your website is performing with built-in analytics.
What You Can See
Visits & unique visitors
Page views
Daily traffic chart
Top pages and traffic sources
Devices and browsers
Countries and locations
How to Access
1
Go to Dashboard then click Analytics.
2
View your traffic data, charts, and breakdowns.
Business plan: Connect your own Google Analytics (GA4) property for advanced tracking, conversion goals, and integration with Google Ads.
Plans & Pricing
IslaApp offers four plans to match your needs, from getting started for free to running a full business online.
Free
$0
50 AI credits
1 site
Free subdomain
Preview all templates
Starter
$19/mo
150 AI credits/mo
Online store (10 products)
ATH Movil payments
QR codes
Order management
Most Popular
Pro
$39/mo
400 AI credits/mo
Online store (50 products)
AI Email & Marketing
Custom domain
Remove IslaApp branding
Business
$99/mo
1,000 AI credits/mo
Unlimited products
3 sites
Google Analytics (GA4)
Priority support
All paid plans include hosting, SSL, and your onislaapp.com subdomain. Upgrade or downgrade at any time from your dashboard.
Tutorials
Step-by-step interactive tutorials with voice narration. Click any tutorial to start learning.
Interactive Tutorial
Getting Started with IslaApp
6 slides
Interactive Tutorial
Using the AI Customizer
6 slides
Interactive Tutorial
Setting Up ATH Móvil Payments
6 slides
Interactive Tutorial
Managing Your Online Store
5 slides
Interactive Tutorial
Publishing Your Website
4 slides
Interactive Tutorial
QR Codes for Your Business
4 slides
Still have questions? Click the help button in the bottom-right corner or contact us at support@islaapp.tech